Introduction
GitLab CE (Community Edition) is an open-source application used to host Git repositories with additional features like issue tracking.GitLab CE is using your own infrastructure to host repositories which provide flexibility in deploying as an internal repository.The GitLab project makes it pretty straightforward to set up a GitLab repository on your own server with an easy installation mechanism. In this tutorial, we will cover how to install and configure GitLab on a CentOS 7 server.

Install Dependencies
Let’s start with installing the needed dependencies:
yum install curl postfix policycoreutils-python openssh-serverThe most important dependency is the “Postfix” which is provided by the official CentOS repository and you can install it using YUM with the following command:
After the installation process is finished, execute the following commands to start Postfix service and make it run at startup:
systemctl start postfixsystemctl enable postfix
Add the GitLab official package repository
You can easily add the GitLab official repository using “curl” command like below:
curl https://packages.gitlab.com/install/repositories/gitlab/gitlab-ce/script.rpm.sh | sudo bashInstall GitLab Community Edition
Now that you have all the needed dependencies and you have successfully added the GitLab repository you can go ahead and install GitLab Community Edition with the command below:
yum install gitlab-ceInitial Configuration
Execute the following command to start GitLab initial configuration process, it may take a few minutes (This is a completely automated process so you will not have to answer any prompt):
gitlab-ctl reconfigureAfter the process is finished, you can see you Domain or public IP address through your browser. you should see a page like below:

You have to create a GitLab account in order to proceed.
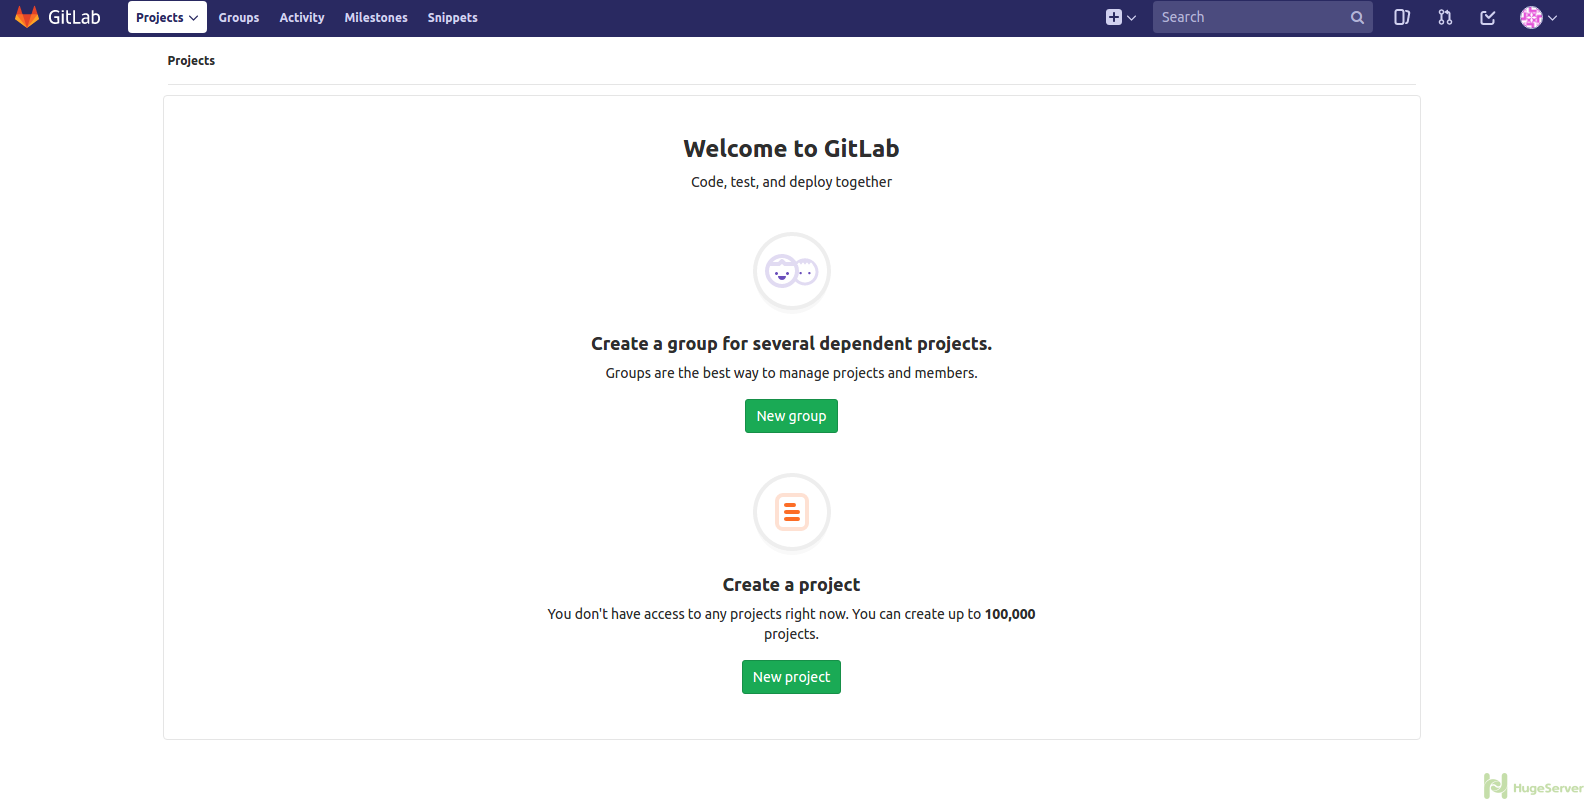
After that you can sign in to your GitLab server’s web interface, the picture below is the main page of the GitLab web interface:
You can find the documentation and news on Gitlab official website!