Introduction
Jenkins is an Open-Source automation software (a fork of Hudson) which can help you automate repetitive technical tasks involved in the continuous integration and delivery of software. Jenkins is written in JAVA language an currently focusing on two main purposes:
- Building and testing software projects, just like CruiseControl or DamageControl. Jenkins provides an easy-to-use continuous integration system, making it easier for developers to integrate changes to the project, and making it easier for users to obtain a fresh build. The automated, continuous build increases the productivity.
- Monitoring executions of externally-run jobs, such as cron jobs, even those that are run on a remote machine. Jenkins keeps those outputs and makes it easy for you to notice when something is wrong.

Install Jenkins
The version of Jenkins which is available by the RHEL official repository is often behind the latest version, so in order to take advantage of the latest fixes and features, we’ll use the project-maintained packages to install Jenkins.
Add the repository key with the following command:
rpm --import https://pkg.jenkins.io/redhat-stable/jenkins.io.keyNow we will add the package repository address to our repository list with the command below:
wget -O /etc/yum.repos.d/jenkins.repo https://pkg.jenkins.io/redhat-stable/jenkins.repoUpdate your package manager list to get the latest packages:
yum repolistFinally, install Jenkins and JAVA with the following command:
yum install java-1.8.0-openjdk jenkinsStarting Jenkins
Jenkins will work as a service, so you can control it using “systemctl” command. start your Jenkins server with the following command:
systemctl start jenkinsIf you want to make it run at startup execute the command below as well:
systemctl enable jenkinsYou can check Jenkins service status using:
systemctl status jenkinsSetting up Jenkins
For start setting up our Jenkins, we need to visit its web dashboard running on port, “8080”. so open your browser and see your public IP address or your Domain name followed by the port number through it:
http://YOUR_IP_OR_DOMAIN:8080You will see a page like below:
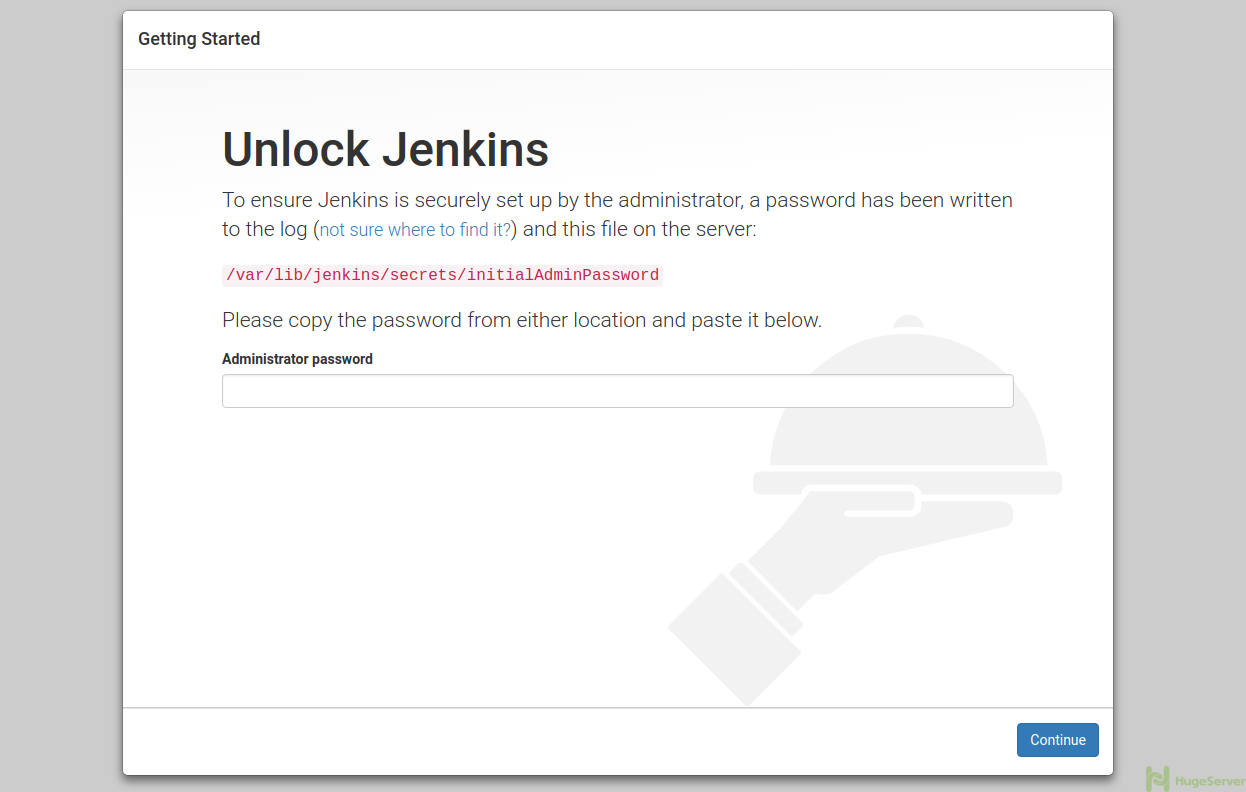
As you can see, you need to enter a password in order to proceed. so get back to your server and execute the following command to get the default password:
cat /var/lib/jenkins/secrets/initialAdminPasswordYou will get something like below in output:
ca8fcgd74c354m9bae28eaf3dbea6d8aPaste in the “Administrator password” field and hit continue to see the following page:
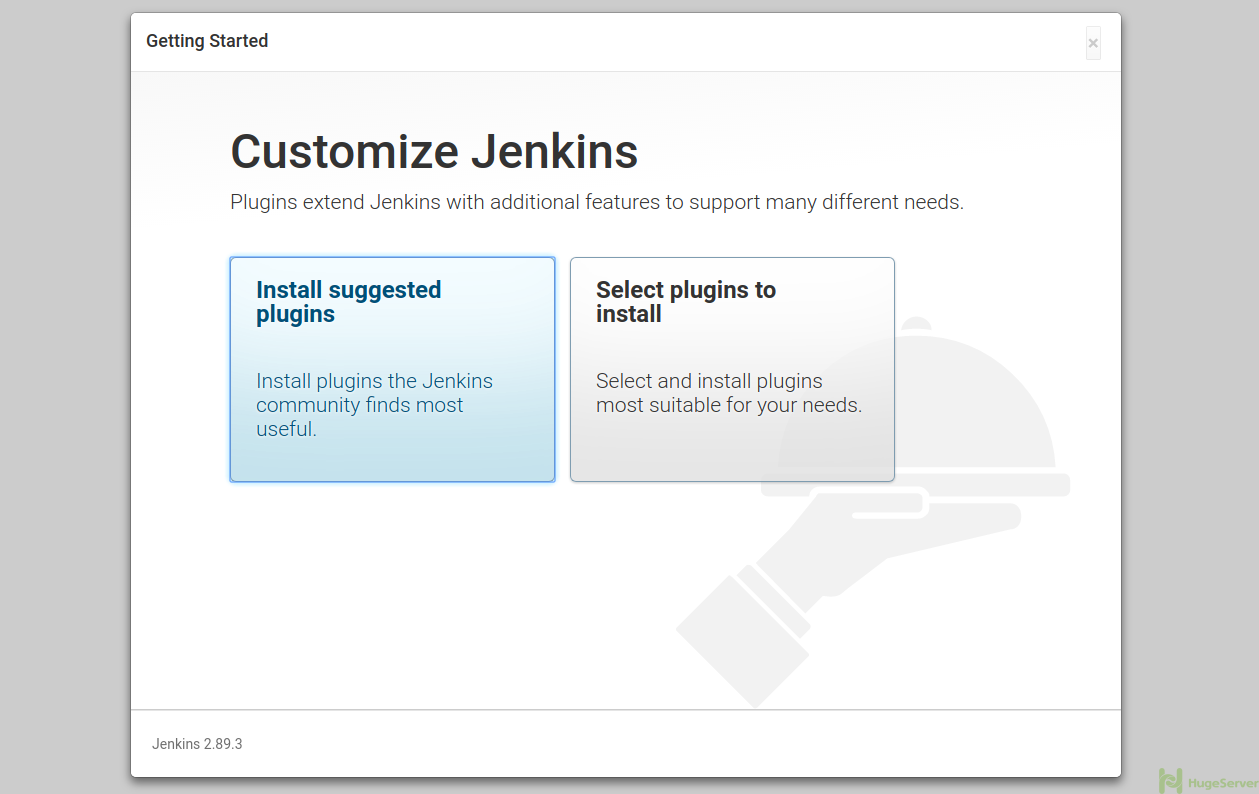
We recommend you to select the “Install suggested plugins” option if you are new to Jenkins. Now you can see that Jenkins is installing some plugins:
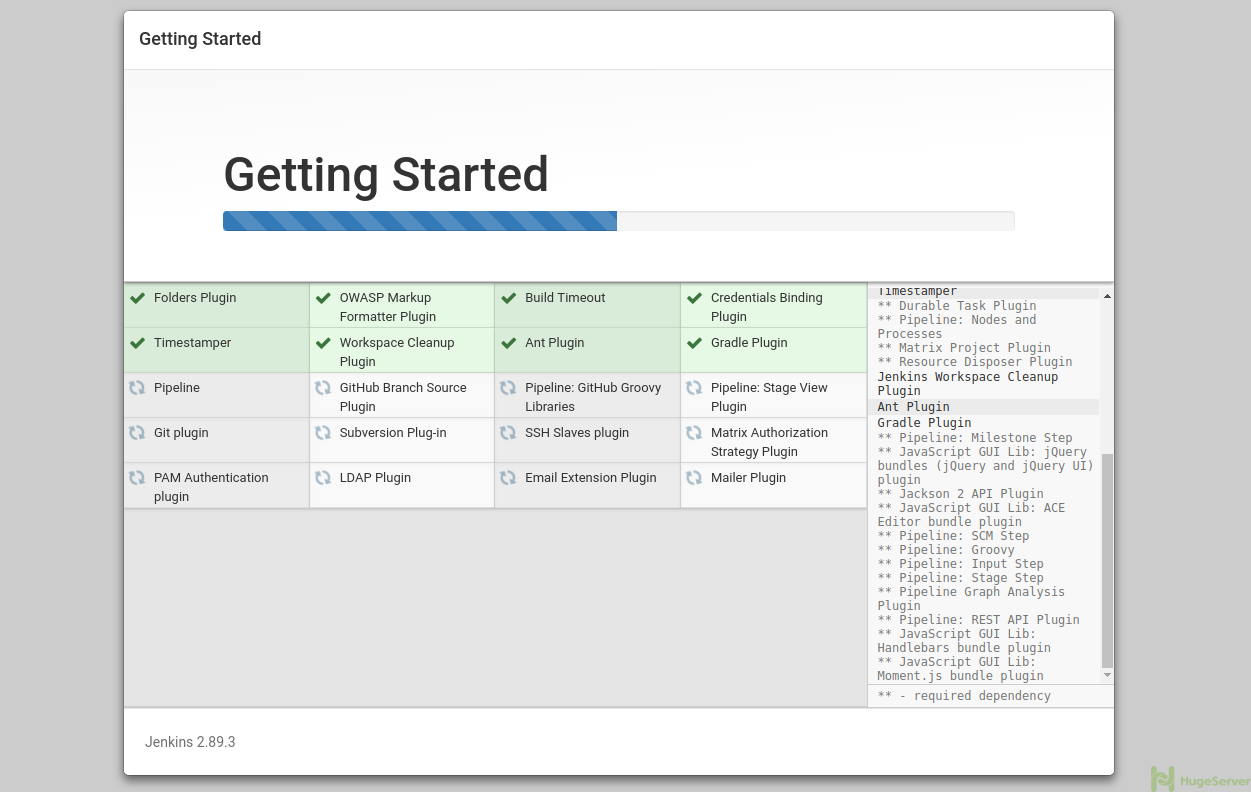
After that, you will direct to a page which you have to create your first user:
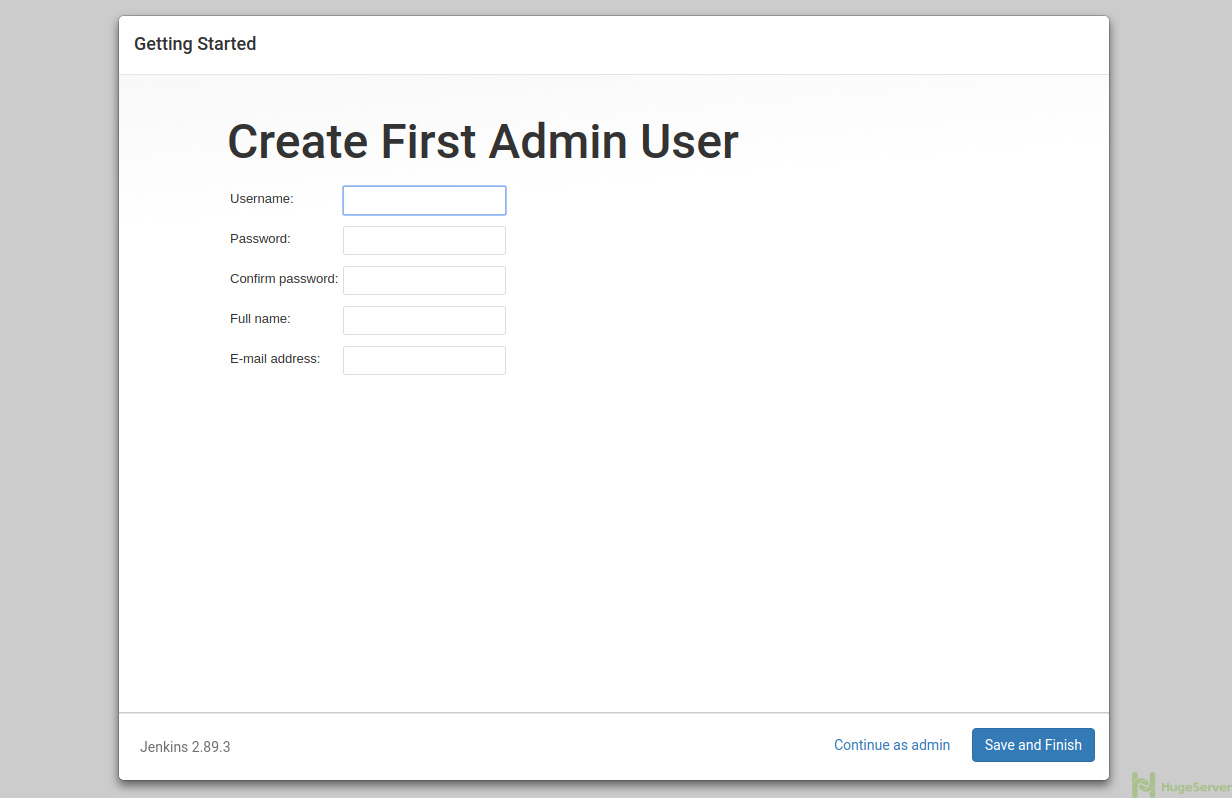
If you want to get more information about Jenkins you can visit the official website!
add
service firewalld stop
disabled selinux
Instead of disabling 2 layers of security (i.e. Firewall and SELinux), it is better to configure both of them according to our requirements.