Introduction
Caddy is one of the next generation modern web servers written in GO language that’s why the binaries are entirely self-contained and can be run on every platform. In the previous articles, we talked about Caddy web server and it’s easy configuration, as you remember we learned how to install and use it, In this article, we are going to install WordPress and serve it with our Caddy web server. It contains installing and integrating PHP with Caddy which is pretty easy.
- Caddy is very lightweight and has low resource requirements.
- Configuration is very simple.
- Supports HTTP/2.0
- Caddy is the only web server that uses HTTPS by default.
- It’s very fast for processing static content.
We are assuming that you have root permission, otherwise, you may start commands with “sudo”.
Download Caddy binary file
Execute the following command will download the Caddy binary file and put it in your executable PATH:
curl https://getcaddy.com | bashUsing the command below you can see your binary file path which is by default “/usr/local/bin/caddy”:
which caddyPreparing the Caddy
As you saw we didn’t install Caddy trough a package so we don’t have any service or configuration files for our web server, In this section we are going to create Caddy configuration files, set their permissions and finally create a service for our web server.
Caddy necessary directories
First of all set the binary file permission to “root” and make it executable with the following commands:
chown root:root /usr/local/bin/caddychmod 755 /usr/local/bin/caddy
Execute the following command to permit the Caddy’s binary file to listen on preferred port:
setcap CAP_NET_BIND_SERVICE=+eip /usr/local/bin/caddyNow we will create the Caddy’s user and group:
groupadd caddyuseradd \
-g caddy \
--home-dir /var/www --no-create-home \
--shell /usr/sbin/nologin \
--system caddyCreate the Caddy main directory and set the proper owner and permission with the commands below:
mkdir /etc/caddytouch /etc/caddy/Caddyfilechown -R root:caddy /etc/caddychown caddy:caddy /etc/caddy/Caddyfilechmod 444 /etc/caddy/Caddyfile
Make the SSL directory to store your SSL configurations:
mkdir /etc/ssl/caddychown -R caddy:root /etc/ssl/caddychmod 770 /etc/ssl/caddy
Create the root directory for Caddy (which you are going to serve your website):
mkdir /var/wwwCaddy Service
In this section, we are going to create a “caddy.service” file to get the ability to control our web server.
Create the service file with the command below:
nano /etc/systemd/system/caddy.servicePaste the following script in the file then save and exit:
[Unit]
Description=Caddy HTTP/2 web server
Documentation=https://caddyserver.com/docs
After=network-online.target
Wants=network-online.target systemd-networkd-wait-online.service

[Service]
#Restart=on-failure
StartLimitInterval=864000
StartLimitBurst=500

; User and group the process will run as.
User=caddy
Group=caddy

; Letsencrypt-issued certificates will be written to this directory.
Environment=CADDYPATH=/etc/ssl/caddy

; Always set "-root" to something safe in case it gets forgotten in the Caddyfile.
ExecStart=/usr/local/bin/caddy -log stdout -agree=true -conf=/etc/caddy/Caddyfile -root=/var/tmp
ExecReload=/bin/kill -USR1 $MAINPID

; Limit the number of file descriptors; see `man systemd.exec` for more limit settings.
LimitNOFILE=1048576
; Unmodified caddy is not expected to use more than that.
LimitNPROC=64

; Use private /tmp and /var/tmp, which are discarded after caddy stops.
PrivateTmp=true
; Use a minimal /dev
PrivateDevices=true
; Hide /home, /root, and /run/user. Nobody will steal your SSH-keys.
ProtectHome=true
; Make /usr, /boot, /etc and possibly some more folders read-only.
ProtectSystem=full
; … except /etc/ssl/caddy, because we want Letsencrypt-certificates there.
;   This merely retains r/w access rights, it does not add any new. Must still be writable on the host!
ReadWriteDirectories=/etc/ssl/caddy

; The following additional security directives only work with systemd v229 or later.
; They further restrict privileges that can be gained by Caddy. Uncomment if you like.
; Note that you may have to add capabilities required by any plugins in use.
CapabilityBoundingSet=CAP_NET_BIND_SERVICE
AmbientCapabilities=CAP_NET_BIND_SERVICE
;NoNewPrivileges=true

[Install]
WantedBy=multi-user.target
Set the owner and permissions for the service file:
chown root:root /etc/systemd/system/caddy.servicechmod 644 /etc/systemd/system/caddy.service
Now run the command below to take effect:
systemctl daemon-reloadYou can start, stop and enable the Caddy service with the following commands:
systemctl start caddysystemctl enable caddysystemctl status caddy
Installing the PHP and PHP-FPM
In order to serve WordPress, you need to have PHP installed but you need a PHP processor for integrating the PHP with your Caddy web server and that’s why we are going to install PHP-FPM as well.
Execute the following command to install PHP and all of the dependencies that you may need for running WordPress:
apt-get install php php-fpm php-xml php-mbstring php-mcrypt php-gd php-curlAfter the installation process is finished, start and enable your PHP-FPM service with the following commands:
systemctl start php7.0-fpmsystemctl enable php7.0-fpm
Next, open the PHP-FPM configuration file with your text editor:
nano /etc/php/7.0/fpm/pool.d/www.confFind the following lines:
user = www-data
group = www-data
And change them like below:
user = caddy
group = caddy
Go ahead and find the “listen.owner” lines, Uncomment them and change them to look like below:
listen.owner = caddy
listen.group = caddy
listen.mode = 0660
Find the line that starts with “listen” and changes the value like below:
listen = 127.0.0.1:9000Save and Exit.
Restart the PHP-FPM service to take effect:
systemctl restart php7.0-fpmOpen your Caddyfile with a text editor:
nano /etc/caddy/CaddyfilePaste the following configuration in it:
YOUR_DOMAIN_OR_IP_ADDRESS:80 {
    tls admin@YOUR_DOMAIN
    root /var/www/
    gzip
    fastcgi / 127.0.0.1:9000 php
    rewrite {
        if {path} not_match ^\/wp-admin
        to {path} {path}/ /index.php?_url={uri}
    }
}
Now you can test if your PHP and web server is working together properly.
Create a file named “info.php” in your web server’s root directory:
nano /var/www/info.phppaste the following code in it then save and exit:
<?php
phpinfo();
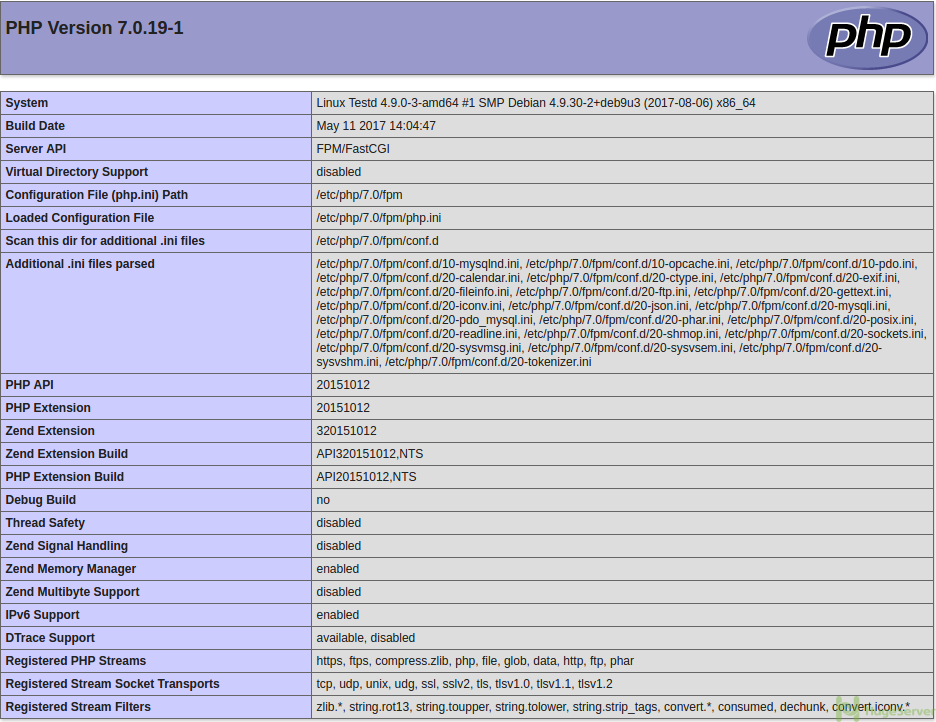
?>Now you can open your browser and see your Domain or your public IP address (e.g. http://IP_DOMAIN/info.php) if you see the following page then your PHP and Caddy is working fine:
Install MySQL
For running WordPress we are going to need a database, the best and most common option here is MySQL, you can install it from the official repository.
Execute the following command to easily install MySQL:
apt-get install mysql-serverAfter the installation process is finished use the following commands to start and make MySQL run at startup:
systemctl start mysqlsystemctl enable mysql
Run the following script to set up some initial configuration:
mysql_secure_installationChoose a root password early in the wizard then you can answer all prompts with “Y”.
Execute the following command to enter the MySQL command line in order to create a database and a user for WordPress:
mysql -u root -pFor creating a database run the following command (Make sure to replace the red parts with your own preferred values):
$ create database hugeserver;Now create a user and get it the access to “hugeserver” database with the command below:
$ grant all privileges on hugeserver.* to 'user'@'localhost' identified by 'password';Execute the following command to take effect:
$ flush privileges;

$ exit
Download and Install WordPress
You can download WordPress form its official website: www.wordpress.org
Switch to the Caddys root directory with the command below:
cd /var/wwwNow download the WordPress compressed file using “WGET” with the command below:
wget https://wordpress.org/latest.tar.gzAfter the downloading process is finished, execute the command below to extract the file:
tar xvzf latest.tar.gzUse the following commands one by one to put the WordPress files in the right place so Caddy can find and serve them:
cd /var/www/wordpresscp -R * /var/www/cd ../rm -rf wordpress
Set the proper permissions with the command below:
chown -R caddy:caddy /var/wwwInstalling WordPress
Now you have everything you need to finalize the WordPress installation.
Open your browser and enter your Domain or your public IP address to see the following page:
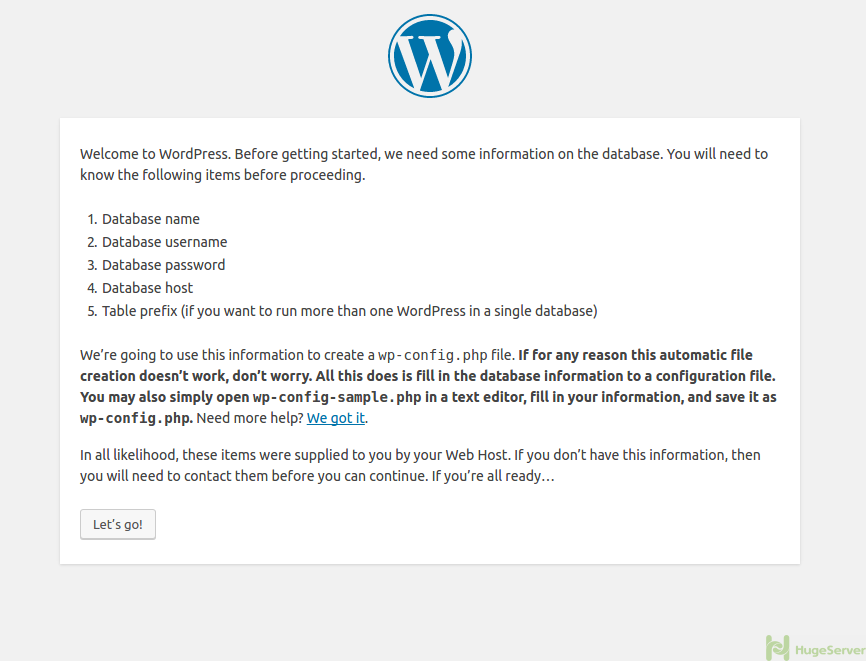
Hit the Let’s go! button to proceed.
In the next page, you have to enter some information such as Database user name and password etc.
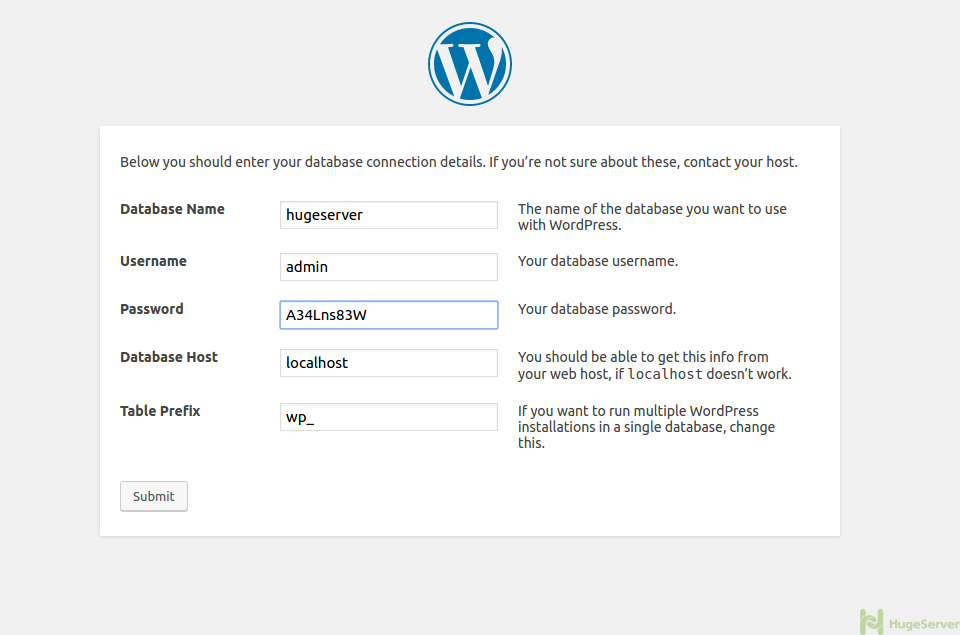
Fill the form with the information that you entered in “Install MySQL” section, Then click on Submit.
You are almost done, enter some initial information for your WordPress and you are good to go!
For more information and news visit the Caddy official website!
Almost spotless and really cool copy&paste tutorial, thank you very much.
What failed me was the missing package php7.0-mysql
which will lead you to the error:
Your PHP installation appears to be missing the MySQL extension which is required by WordPress.
Install the package and you are ready to go.
Thanks again,
Daniel
Hello
Nice share.
I consider the best premium iptv servers are those from iptvcccam.net
I would like your feedback
Thanks
This is literally the best tutorial for how to install caddy. Could you please update it with information from caddy install bash script on how to install personal, commercial version and how to install with plugins. Also it would be very helpful to add section of tutorial with how to update caddy binary later when there is new version. Thank you for this great tutorial.