Introduction
If you are a Ruby developer you probably need a web server to serve your Ruby application with it, Phusion Passenger is a user-friendly web server which is able to simultaneously run and manage all your Ruby, Node.js, Python, and Meteor apps, as well as APIs and microservices, on a single instance. Passenger integrates your app’s web server, process management, and caching so there are fewer moving parts for you to manage.
One of the main benefits of using Passenger is that Passenger quietly restarts applications that crash, hang or leak memory. Application updates don’t interrupt service, and error resistance stops flawed updates.
in this tutorial, we are going to install Nginx as a reverse proxy for Passenger.

Install Dependencies
We are going to compile Ruby from source so we need to install some dependencies first:
apt-get updateapt-get install build-essential libssl-dev libyaml-dev libreadline-dev openssl curl git-core zlib1g-dev bison libxml2-dev libxslt1-dev libcurl4-openssl-dev nodejs libsqlite3-dev sqlite3Download and Compile Ruby
You can download the latest version of Ruby (2.4.2 at the time of writing) from its official website using “WGET”:
wget https://cache.ruby-lang.org/pub/ruby/2.4/ruby-2.4.2.tar.gzExtract the source files with the following command:
tar xvzf ruby-2.4.2.tar.gzSwitch to the source directory:
cd ruby-2.4.2Run the “configure” script to check for dependencies and create a Make File (it’s going to take some time):
./configureIf you have done all of the steps right, you shouldn’t face any errors, so you can go ahead and compile the source with the following command:
make && make installAfter the installation process is finished, you can verify your Ruby version with the following command:
ruby -vInstall Passenger and Nginx
We are going to install both Nginx and Passenger using “APT”, but first, you need to import the signing key for passenger:
apt-key adv --keyserver keyserver.ubuntu.com --recv-keys 561F9B9CAC40B2F7Now create a list file in your APT configuration to the add the Passenger repository with the following command:
nano /etc/apt/sources.list.d/passenger.listPaste the following line in the file then save and exit:
deb https://oss-binaries.phusionpassenger.com/apt/passenger xenial mainNow issue the following command to update your repository list and install Nginx with Passenger:
apt-get update && apt-get install passenger nginx-extras nginxStart Nginx and make it run at startup:
systemctl start nginxsystemctl enable nginx
Set up Nginx and Passenger
First of all, you need to uncomment a line in Nginx configuration which makes Nginx include the Passenger configuration:
nano /etc/nginx/nginx.confFind the following line:
#include /etc/nginx/passenger.conf;Uncomment it like below:
include /etc/nginx/passenger.conf;Then open the Passenger main configuration file with your text editor:
nano /etc/nginx/passenger.confChange the second line like below:
passenger_root /usr/lib/ruby/vendor_ruby/phusion_passenger/locations.ini;
passenger_ruby /usr/local/bin/ruby;
You are almost done, just need to modify a virtual server to serve your Ruby on Rails project form:
echo "" > /etc/nginx/sites-available/defaultsnano /etc/nginx/sites-available/defaults
Paste the following configuration into the file then save and exit (make sure to replace the red parts with your own values):
server {
listen 80 default_server;
server_name YOUR_DOMAIN.COM;
passenger_enabled on;
passenger_app_env development;
root /var/www/testapp/public;
}
At last restart Nginx service to take effect:
systemctl restart nginxInstall necessary Gems
You need to install “Bundler” and “Rails” through RubyGems:
gem install bundlergem install rails
Create a Rails project
Issue the following command to create a Rails project in your root directory:
rails new /var/www/testapp/After the download process is finished, switch to the app directory with the following command:
cd /var/www/testapp/Open the Gemfile with your text editor:
nano GemfileUncomment the following line:
gem 'therubyracer', platforms: :rubySave and exit.
Execute the following command:
bundler installNow you have one more step to go, Issue the following command to set the correct permission for your project:
chown -R www-data:www-data /var/www/testappRestart Nginx:
systemctl restart nginxTest
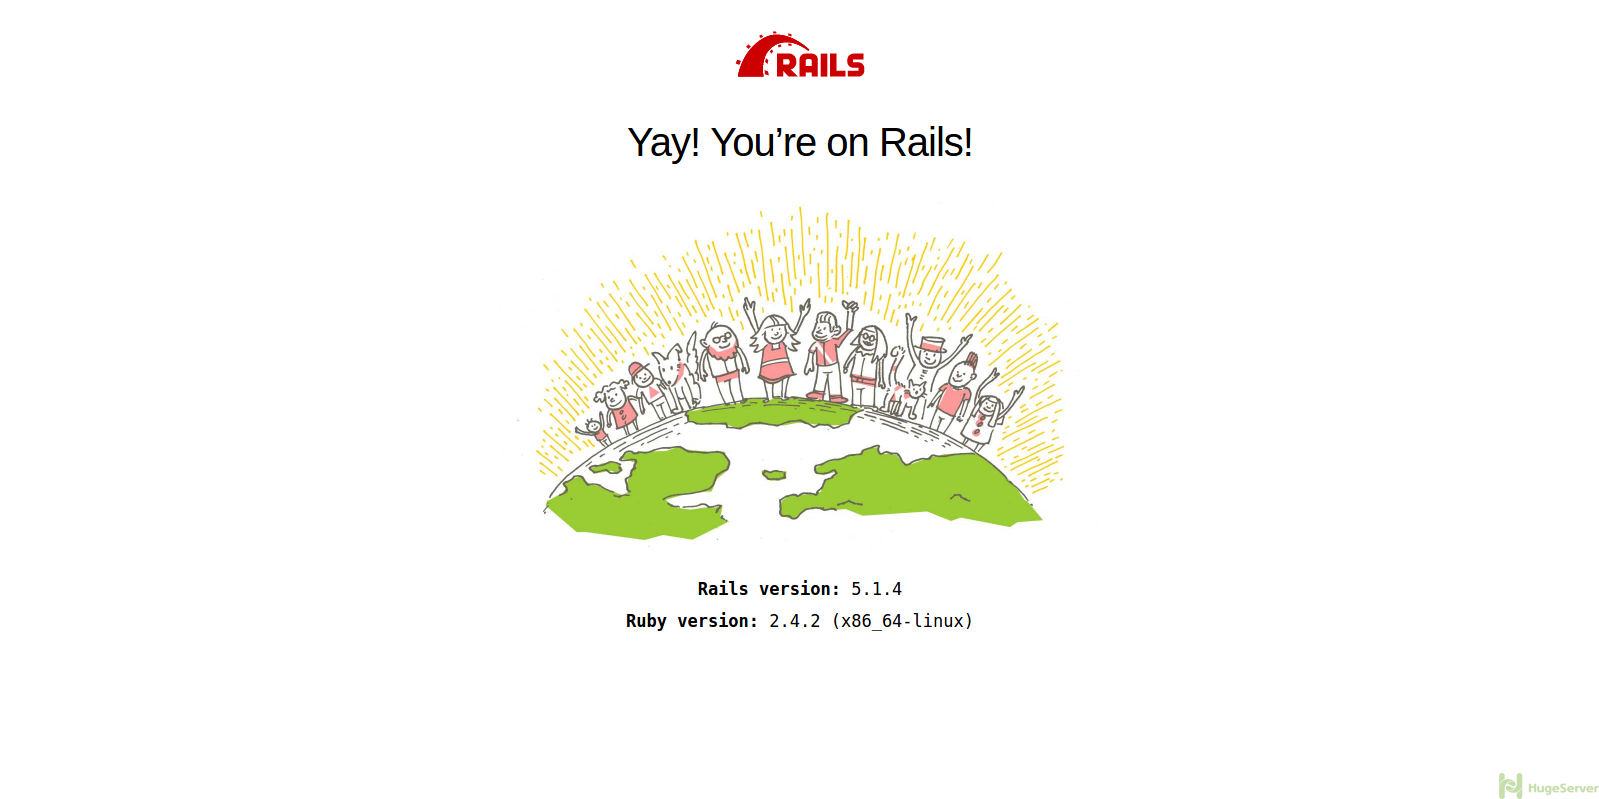
Now you can open a browser and see your Public IP Address or your Domain through it, if you see a page like below then you have been successfully served a Rails project with Passenger:

You can visit Ruby on Rails official website for more information and news!
server {
listen 80 default_server;
server_name YOUR_DOMAIN.COM;
passenger_enabled on;
passenger_app_env development;
root /var/www/testapp/public;
}
What i have to give instead of ” YOUR_DOMAIN.COM” for service name . Please dont mind if it is silly doubt.