Nginx is a high-performance web server and It’s much more flexible and lightweight program than Apache Server.In this tutorial, you’ll install a LEMP stack on a Debian server using the packages provided by your OS.
We are assuming that you have root permission, otherwise, you may start commands with “sudo”.
Install Nginx web server
first of all, you have to update your repositories packages list by the command below:
apt-get updateNow you can install the latest version of Nginx:
apt-get install nginxOn Debian 8, Nginx is configured to start running upon installation.
if you are using ufw firewall, you will need to allow connections to Nginx by the command below:
ufw allow 'Nginx HTTP'you can see the changes by typing:
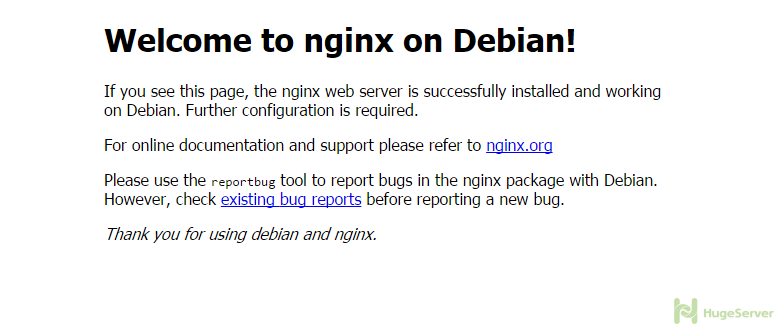
ufw statusit’s time to test your Nginx web server, for doing that you have to open your browser and see your domain or public IP address. if you have done everything right you have to see something like the picture below:
Install MySQL
Now that we have a web server, we need to install a database manager. in this tutorial, we are installing MariaDB.
You can install this easily by typing:
apt-get install mysql-serverduring the installation you will be asked for a root password, it’s recommended to use a strong password.
When it’s done, you must run the secure installation script to set some basic Configuration:
mysql_secure_installationIf you are happy with your current root password then press “N” for “no” to skip changing root password prompt, and for the rest of the questions you should press “Y”.
Install PHP
Now we have Nginx installed to serve our pages and MySQL installed to store and manage our data.
The last thing we need is PHP and the packages.
These packages aren’t available in the default repositories, so we’ll have to modify the repository sources to pull them in.
Open the “apt” sources list with you editor with the command below: (we are using nano)
nano /etc/apt/sources.listThen add “contrib” and “non-free” repositories like below. save and exit:
deb http://ftp.us.debian.org/debian/ jessie main contrib non-free
deb-src http://ftp.us.debian.org/debian/ jessie main contrib non-free
deb http://security.debian.org/ jessie/updates main contrib non-free
deb-src http://security.debian.org/ jessie/updates main contrib non-free
# jessie-updates, previously known as 'volatile'
deb http://ftp.us.debian.org/debian/ jessie-updates main contrib non-free
deb-src http://ftp.us.debian.org/debian/ jessie-updates main contrib non-free
Now you have to update your repositories list:
apt-get updateInstall “php5-fpm” and “php5-mysql”:
apt-get install php5-fpm php5-mysqlIn this step, we have to configure our Nginx to use PHP processor.
Open Nginx configuration file with the command below:
nano /etc/nginx/sites-available/defaultThen you have to change it like below:
server {
 listen 80 default_server;
 listen [::]:80 default_server;

 root /var/www/html;
 index index.php index.html index.htm index.nginx-debian.html;

 server_name your_server_ip;

 location / {
 try_files $uri $uri/ =404;
 }

 location ~ \.php$ {
 include snippets/fastcgi-php.conf;
 fastcgi_pass unix:/var/run/php5-fpm.sock;
 }

 location ~ /\.ht {
 deny all;
 }
}
When you have made the above changes, you can save and close the file by “Ctrl+O” and “Ctrl+X”.
Test your configuration file for syntax errors by typing:
nginx -tThe output should be like:
nginx: the configuration file /etc/nginx/nginx.conf syntax is ok
nginx: configuration file /etc/nginx/nginx.conf test is successful
is expected otherwise you have to go back and check your syntax.
systemctl reload nginxCreate a PHP file to test Configuration
Create a text file in the path below:
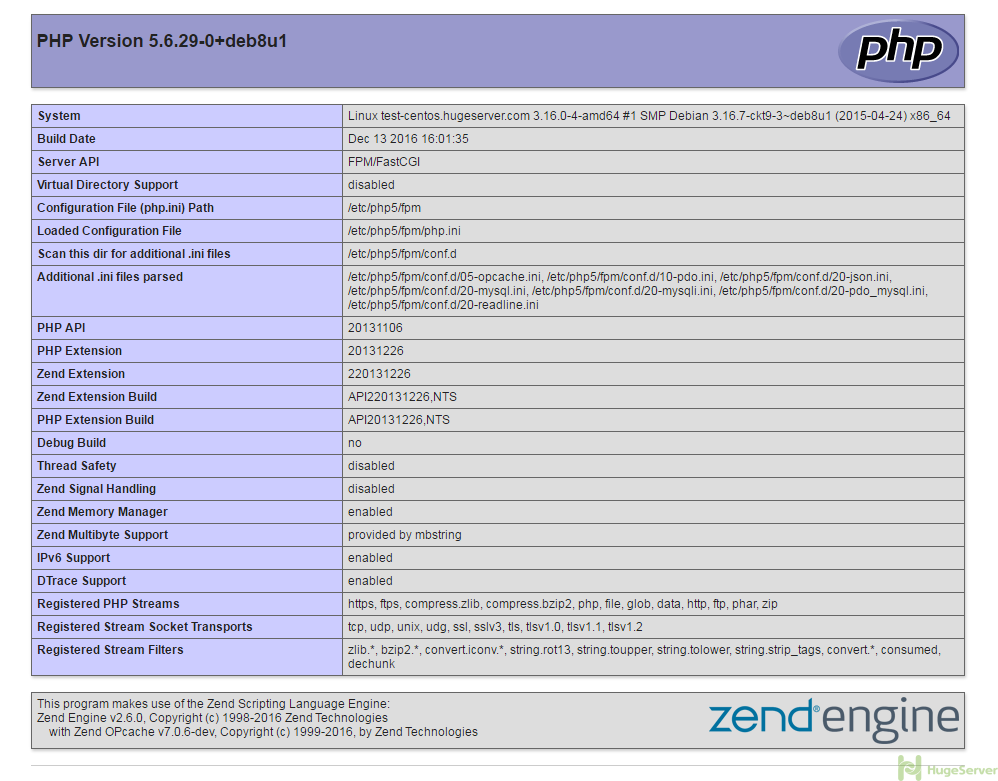
nano /var/www/html/info.phpand type (paste) the following lines into the new file:
<?php
  phpinfo();
?>
When you are finished, save and close (Ctrl+O & Ctrl+X)
Open your browser and see your domain or public IP address with “/info.php” added
if you’ve done everything right you should see something like the picture below: