Introduction
HHVM is an open-source virtual machine designed for executing programs written in Hack and PHP. HHVM uses a just-in-time (JIT) compilation approach to achieve higher performance while maintaining the development flexibility that PHP provides.
HHVM supports Hack, PHP 5 and the major features of PHP 7.
Attention: please note that HHVM only works on 64-bit machines.
We are assuming that you have root permission, otherwise, you may start commands with “sudo”.

Requirements
First of all, you have to run an update to proceed:
yum update -yNow you have to add “epel” repository”
yum install epel-releaseyum repolist
Install some dependencies for the HHVM installation:
yum -y install cpp gcc-c++ cmake git psmisc {binutils,boost,jemalloc,numactl}-devel \
{ImageMagick,sqlite,tbb,bzip2,openldap,readline,elfutils-libelf,gmp,lz4,pcre}-devel \
lib{xslt,event,yaml,vpx,png,zip,icu,mcrypt,memcached,cap,dwarf}-devel \
{unixODBC,expat,mariadb}-devel lib{edit,curl,xml2,xslt}-devel \
glog-devel oniguruma-devel ocaml gperf enca libjpeg-turbo-devel openssl-devel \
mariadb mariadb-server libc-client make
Now we can install HHVM as an RPM package:
rpm -Uvh http://mirrors.linuxeye.com/hhvm-repo/7/x86_64/hhvm-3.15.3-1.el7.centos.x86_64.rpmCheck the HHVM version:
hhvm --versionIn this step we will configure HHVM to run as a systemd service which is faster than running on a system port, we will run HHVM on a unix socket file:
Go to the systemd directory and create the “hhvm.service” file:
cd /etc/systemd/system/nano hhvm.service
Paste the service configuration below into that file:
[Unit]
Description=HHVM HipHop Virtual Machine (FCGI)
After=network.target nginx.service mariadb.service

[Service]
ExecStart=/usr/local/bin/hhvm --config /etc/hhvm/server.ini --user nginx --mode daemon -vServer.Type=fastcgi -vServer.FileSocket=/var/run/hhvm/hhvm.sock

[Install]
WantedBy=multi-user.target
Save and exit.
Next, we have to edit the “server.ini” file in the HHVM directory:
cd /etc/hhvm/nano server.ini
Replace the “hhvm.server.port” line with the line below:
hhvm.server.file_socket = /var/run/hhvm/hhvm.sockSave and exit.
Now, we have to change the owner of the socket file directory to the “nginx” user
chown -R nginx:nginx /var/run/hhvm/Restart the Nginx service:
systemctl restart nginxConfigure HHVM and Nginx
In this step, we will configure HHVM to run with the nginx web server, in order to do that we need to create a new HHVM configuration file and include it in Nginx config file.
Go to the path below and create a “hhvm.conf” file:
cd /etc/nginx/nano hhvm.conf
Paste the configuration below:
location ~ \.(hh|php)$ {
    root /usr/share/nginx/html;
    fastcgi_keep_conn on;
    fastcgi_pass unix:/var/run/hhvm/hhvm.sock;
    fastcgi_index  index.php;
    fastcgi_param  SCRIPT_FILENAME $document_root$fastcgi_script_name;
    include        fastcgi_params;
}
Save and exit.
Next, open the “nginx.conf” file:
nano nginx.confAdd the following line to the “server” directive:
include /etc/nginx/hhvm.conf;Check the Nginx configuration for syntax errors and restart the service:
nginx -tsystemctl restart nginx
Testing HHVM and Nginx
Move to the public directory of your Nginx, the default path is below:
cd /usr/share/nginx/html/Make a PHP test file with your text editor like below:
nano info.phpPaste the simple code below then save and exit:
<?php phpinfo(); ?>Now you can test your HHVM by opening your domain or your public IP address with a browser, you have to see a page like below:
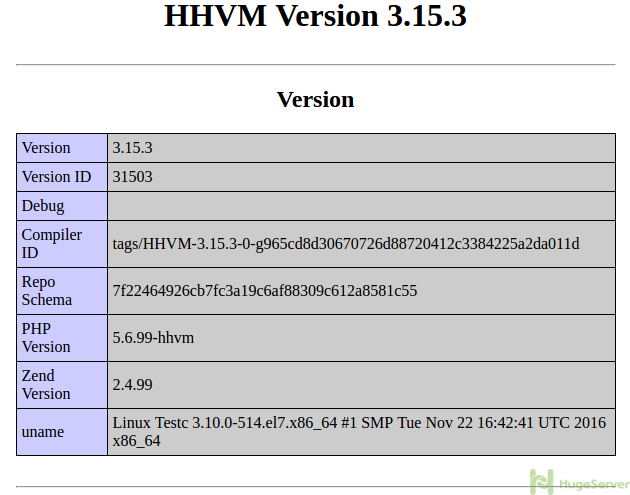
You can find out more about HHVM and Hack programming in HHVM offcial website!