This tutorial will concentrate on how to install and configure famous LAMP stack (Linux,Apache,MySQL,PHP).
The LAMP Softwares are completely replaceable with other similar Softwares, and it’s not limited to the original bundle.
as a web stack, LAMP is suitable for building dynamic websites and web applications
We are assuming that you have root permission, otherwise, you may start commands with “sudo”.
Install Apache Server with Basic Configurations
First of all you have to Install Apache 2.4 httpd service binary package provided from official repositories using the following command:
yum install httpdMake your Apache to run at startup:
systemctl enable httpdAfter the installation of Apache, you also have to add some rules to your firewall:
firewall-cmd --add-service=httpfirewall-cmd --permanent --add-service=httpsystemctl restart firewalldsystemctl restart httpd
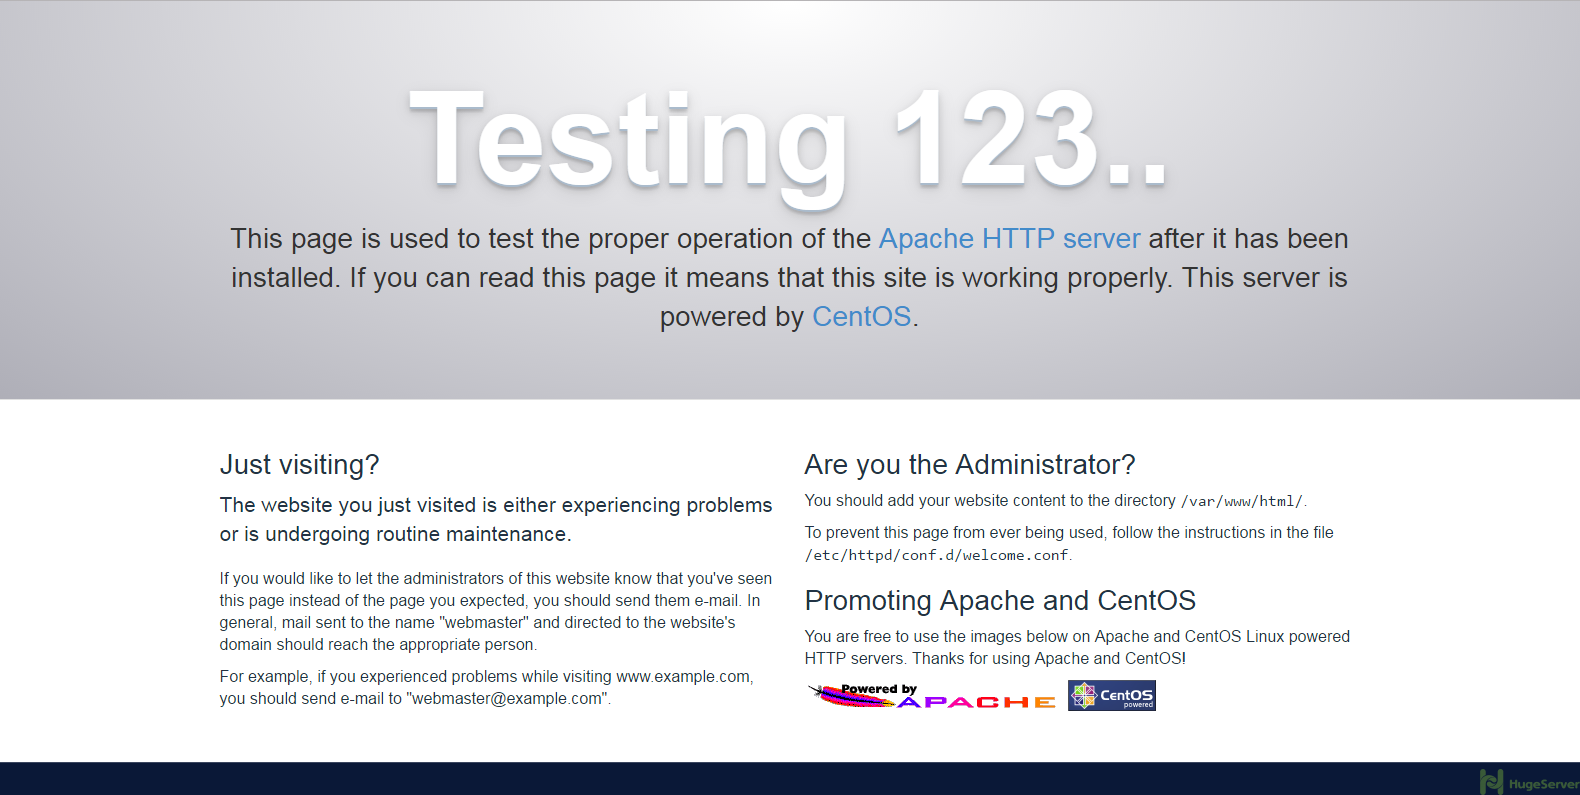
Now you can test your Apache by opening your browser and see your Public IP address (or domain).
If you have done everything right you should see something like the picture below:
Install MySQL (MariaDB)
We are going to install MariaDB instead of MySQL, you might ask why? MariaDB is a community-developed fork of the MySQL, and it’s led by MySQL developers. MariaDB maintain high compatibility with MySQL, It’s very smooth and lightweight:
yum install mariadb-server mariadbMake MariaDB to run at startup:
systemctl enable mariadbAfter the installation, we should start MariaDB with the following command:
systemctl start mariadbIn this step we are going to run MySQL secure installation to remove some insecure defaults:
mysql_secure_installationIf you are happy with your MySQL root password then you can skip the first question, it’s recommended to answer all other questions with “y”.
After the secure installation done, you have to enable your database management to run at the startup
systemctl enable mariadb.serviceInstall PHP 5
We’re going to include the PHP-MySQL package as well:
yum install php php-mysql
We should restart the Apache service in order to work with PHP with the command below:
systemctl restart httpd.service
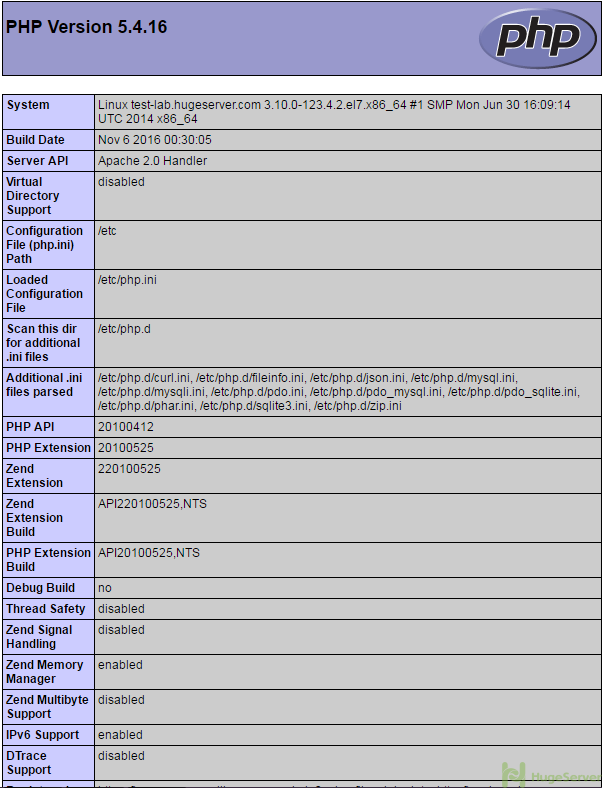
Now it’s time to test your PHP. create a file named “info.php” in the location below:
nano /var/www/html/info.phpAdd the following PHP code in it then save and exit (Ctrl+O , Ctrl+X)
<?php phpinfo(); ?>If you are running a firewall, run the following commands to allow HTTP and HTTPS traffic:
firewall-cmd --permanent --zone=public --add-service=http firewall-cmd --permanent --zone=public --add-service=https firewall-cmd --reload
You can test your service by opening your browser and see your Public IP address or domain, the result should be something like the picture below:
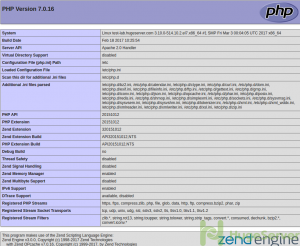
Install PHP 7
If you want to install PHP7 on your CentOS 7 you should do it by adding “webstatic” and “epel” repository:
rpm -Uvh https://dl.fedoraproject.org/pub/epel/epel-release-latest-7.noarch.rpmrpm -Uvh https://mirror.webtatic.com/yum/el7/webtatic-release.rpm
Now you can easily install PHP7 using yum:
yum install php70w