LAMP stack is a popular web platform commonly used to run websites and servers. (Linux,Apache,MySQL,PHP)
The LAMP Softwares are completely replaceable with other similar Softwares, and it’s not limited to the original bundle.
as a web stack, LAMP is suitable for building dynamic websites and web applications
We are assuming that you have root permission, otherwise, you may start commands with “sudo”.
Before You Begin
You have to update your repositories cache to get the latest versions. execute:
apt‐get updateInstall and configure Apache 2.4
Install apache 2.4:
apt-get install apache2You can change the configurations using a text editor (Optional)
nano /etc/apache2/apache2.confAnd after changing the configurations you should restart apache2:
systemctl restart apache2Install MySQL
For installing MySQL type:
apt‐get install mysql‐serverInput a secure password when prompted by the installation.
Run secure installation to remove the test database and any user permissions added during the installation.
mysql_secure_installationIt’s recommended to select yes (y) for all questions. if you already have a secure root password you don’t need to change it.
Setup MySQL Database
Now you can create a database and grant your users permissions.
Login to MySQL:
mysql ‐u root ‐pFor creating a database and granting permissions to users you can use following commands: (you may change the values of “dbname”,”username”,”password” to your own values)
mysql> create database dbname;-> grant all on dbname.* to 'username' identified by 'password';Exit MySQL
mysql> quitInstall PHP
In this section, we have 2 options to install PHP 7 or PHP 5, the official repository of Ubuntu 16 only provides PHP 7 at the moment, as you will see we have to add an unofficial repository in order to install PHP 5.
Install PHP 7
Install PHP with the following command:
apt-get install php7.0-mysql php7.0-curl php7.0-json php7.0-cgi php7.0 libapache2-mod-php7.0Now it’s time to test the PHP software that you just installed. move to your public web directory:
cd /var/www/htmlNow use your favorite text editor to create a file named info.php
nano info.phpInside that file, type the following:
<?php phpinfo(); ?>You can use your Domain or Private IP address to see the following page:
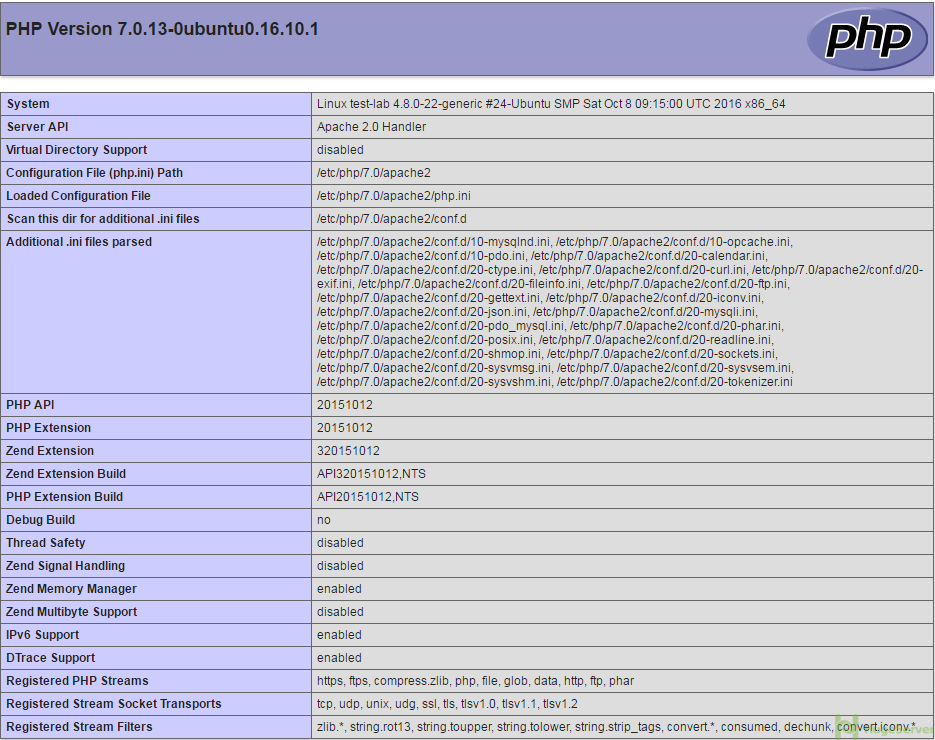
Install PHP 5.6
In this tutorial we are using PPA repository:
apt-get install python-software-propertiesadd-apt-repository ppa:ondrej/phpapt-get updateapt-get install -y php5.6
Now you have to make our Apache to work with PHP 5:
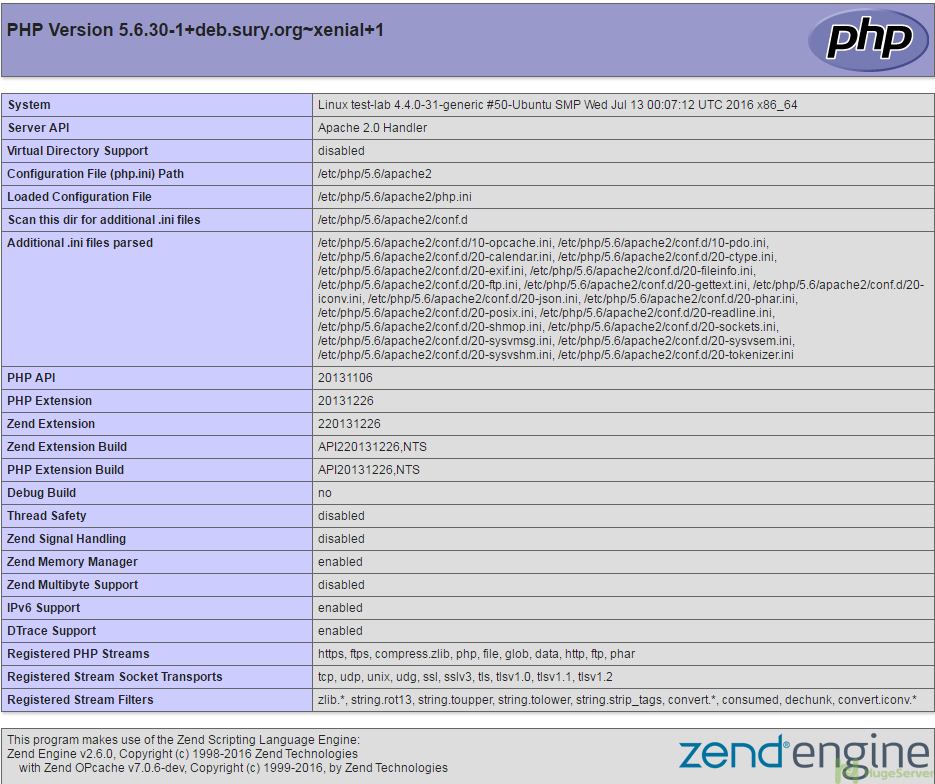
a2enmod php5.6systemctl restart apache2Finally, we are going to test our PHP5:
move to your public web directory:
cd /var/www/htmlNow use your favorite text editor to create a file named info.php
nano info.phpInside that file, type the following:
<?php phpinfo(); ?>You can use your Domain or Private IP address to see the following page: