Introduction
Phpredmin is simple control panel for Redis-Server. It’s open-source and easy to use, you can check out Phpredmin on Github.
We are assuming that you have root permission, otherwise, you may start commands with “sudo”.
Installing Phpredmin
First of all, you have to compile “phpredis” module so PHP apps can work with the Redis server.
Requirments
Before start installing Phpredmin make sure that you have a configured web server with PHP 7.0 if you don’t you can visit our LAMP stack tutorials:
How to install LAMP (Apache, MySQL, PHP) stack on CentOS 7
If you are using other web-servers you have to set the same configuration on them but that could be quite different.
We are going to start with updating repositories list and then install Requirments.
Debian and Ubuntu:
yum updateyum install git gcc make tcl php70w-pear php70w-devel
Now we can get Phpredmin from Github:
git clone -b php7 https://github.com/phpredis/phpredis.gitcd phpredis/phpize./configuremake && make install
You should load the Redis module in your PHP:
echo 'extension=redis.so' > /etc/php.d/redis.iniNow we have to restart our Apache:
systemctl restart httpdTest if your Redis module has been loaded successfully:
php -i |grep redisYour output should be like below:
/etc/php.d/redis.ini,
redis
Registered save handlers => files user redis rediscluster
This program is free software; you can redistribute it and/or modify
Then we can install Phpredmin:
cd /var/wwwgit clone https://github.com/sasanrose/phpredmin.gitmkdir -p ./phpredis/logs/apache2handler/chown apache:apache ./phpredmin/ -R
Create the Phpredmin Apache config file:
nano /etc/httpd/conf.d/phpredmin.confPaste the text below into the “phpredmin.conf”:
Alias /phpredmin /var/www/phpredmin/public

<Directory /var/www/phpredmin/>
   AllowOverride All

   <IfModule mod_authz_core.c>
     # Apache 2.4
     <RequireAny>
       Require all granted
     </RequireAny>
   </IfModule>

   <IfModule !mod_authz_core.c>
     # Apache 2.2
     Order Deny,Allow
     Allow from all
   </IfModule>
</Directory>
Be sure that you replace your preferred configuration in the above text.
SELINUX Configuration
You can disable SELINUX or you can add a rule for permission.
Disable SELINUX
nano /etc/sysconfig/selinuxfind the line that refers to “SELINUX=enforcing” and change it like below:
SELINUX=disabledA reboot would be necessary:
rebootAdd an SELINUX rule
Simply execute:
setsebool -P httpd_can_network_connect=1At last, you have to restart your Apache and you are good to go:
systemctl restart httpdNow you can login to your Phpredmin panel with:install-phpredmin-
http://YOURPUBLICIPADDRESS/phpredminThis is how your Panel looks like:
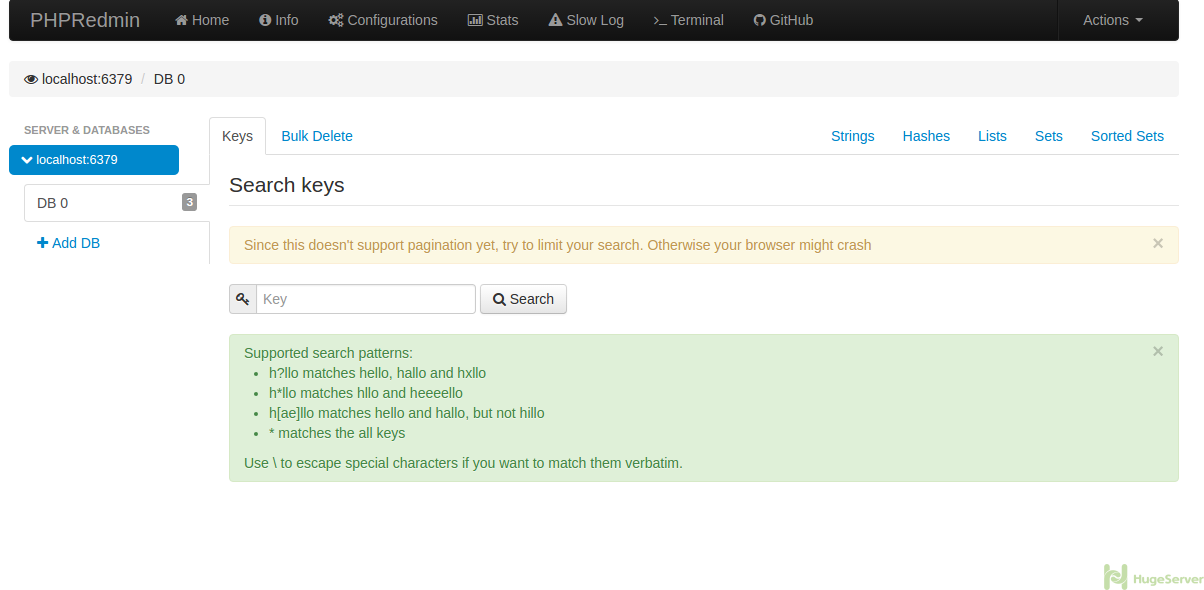
Notice: The default credentials are:
admin
admin
It’s highly recommended to change the password after first login.
Here is the tutorial for password changing:
For changing the username and password you should open Phpredmin config file with a text editor, we are going to use nano:
nano /var/www/phpredmin/config.dist.phpYou will see something like the picture below:
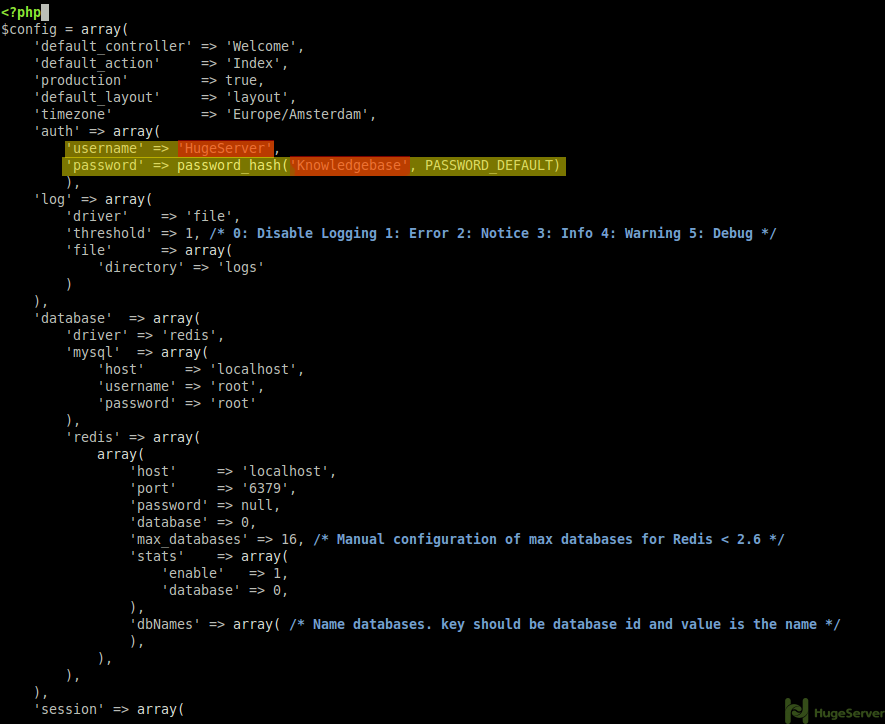
change your Username and Password then save and exit.