You are managing a dedicated server from Internet, and want to access to IPMI? You have colocated a dedicated server in a datacenter and you are looking to have a way to cut off the expensive remote hand fees for reboots, KVM installation, and correction? This can be easily done over IPMI.
But sometimes it is common to happen that your IPMI is not accessible over an Internet interface. This issue may have several reasons. Maybe your IP Configuration is not correct, or maybe the IPMI has crashed, etc.
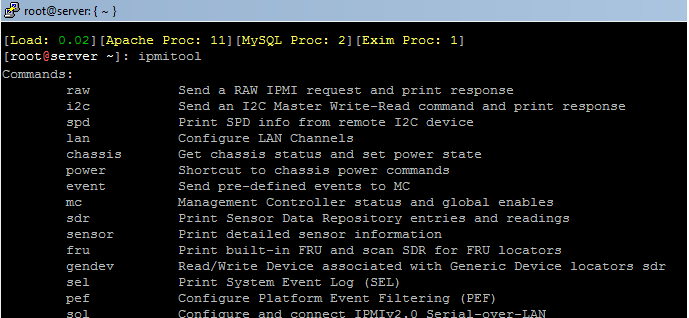
Here is an easy way to correct such problems on your own dedicated server. At the first we have to install ipmitool on our dedicated box. For installing the ipmitool program you have two way to choose, one is using “yum” on CentOS or “apt-get” on Ubuntu, Debian, and the second way is installing this program from source. I will show you all 3 ways to install IPMITool on our dedicated box.
Installing on CentOS via yum
[root@server ~]: yum install ipmitool -y
[root@server ~]: modprobe ipmi_devintf
Now you can use ipmitool and see/edit the details of your ipmi setting on your dedicated server without having to boot the server into BIOS.
Do you want to see the chassis information of your server, then you have to use following command.
ipmitool chassis status
You can also see the power information of your server, by using the following command. Instead of status at the end of the command you can use “cycle” to power cycle the chassis, “on” to power on the chassis, “off” to power off your server and …
ipmitool chassis power status
You can also see and edit the network configuration of your chassis via ipmitoo. For reviewing the Network Configuration you should use following command, as output you will see a list of information, the important details for you might be the “IP Address” section, which shows your current public or private ip address of ipmi.
ipmitool lan print
If you have troubles with your current IP addresses and want to change the IP address to another one, you can perform following command
ipmitool lan set 1 ipaddr IPADDRESS
ipmitool lan set 1 netmask NETMASK
ipmitool lan set 1 defgw ipaddr GATEWAY
Sometimes you will see that your ipmi console is not working, or your web interface is not loading for you. The best and simplest way you can solve such issues, is resetting the bmc of IPMI. For performing this you should run the following command. This command won’t reboot your dedicated server, and will only reset the bmc of ipmi.
ipmitool chassis power reset cold
You want to see how hot your server currently is? No problem it is simple with IPMITool. You can use following command to see the temperature of your server/cpu and chassis.
ipmitool sensor | grep “Temp”
There are a lot more to use with this helpful command, if you have any question regarding this software, please leave a Comment for me and I will get back to you with a solution.
I hope this article helps you.

